Configuring Menu for an User Role
To configure the menu for a specific user role in your Zango application, follow these steps:
Access the App Panel: Navigate to your Zango application's landing page and access the App Panel.
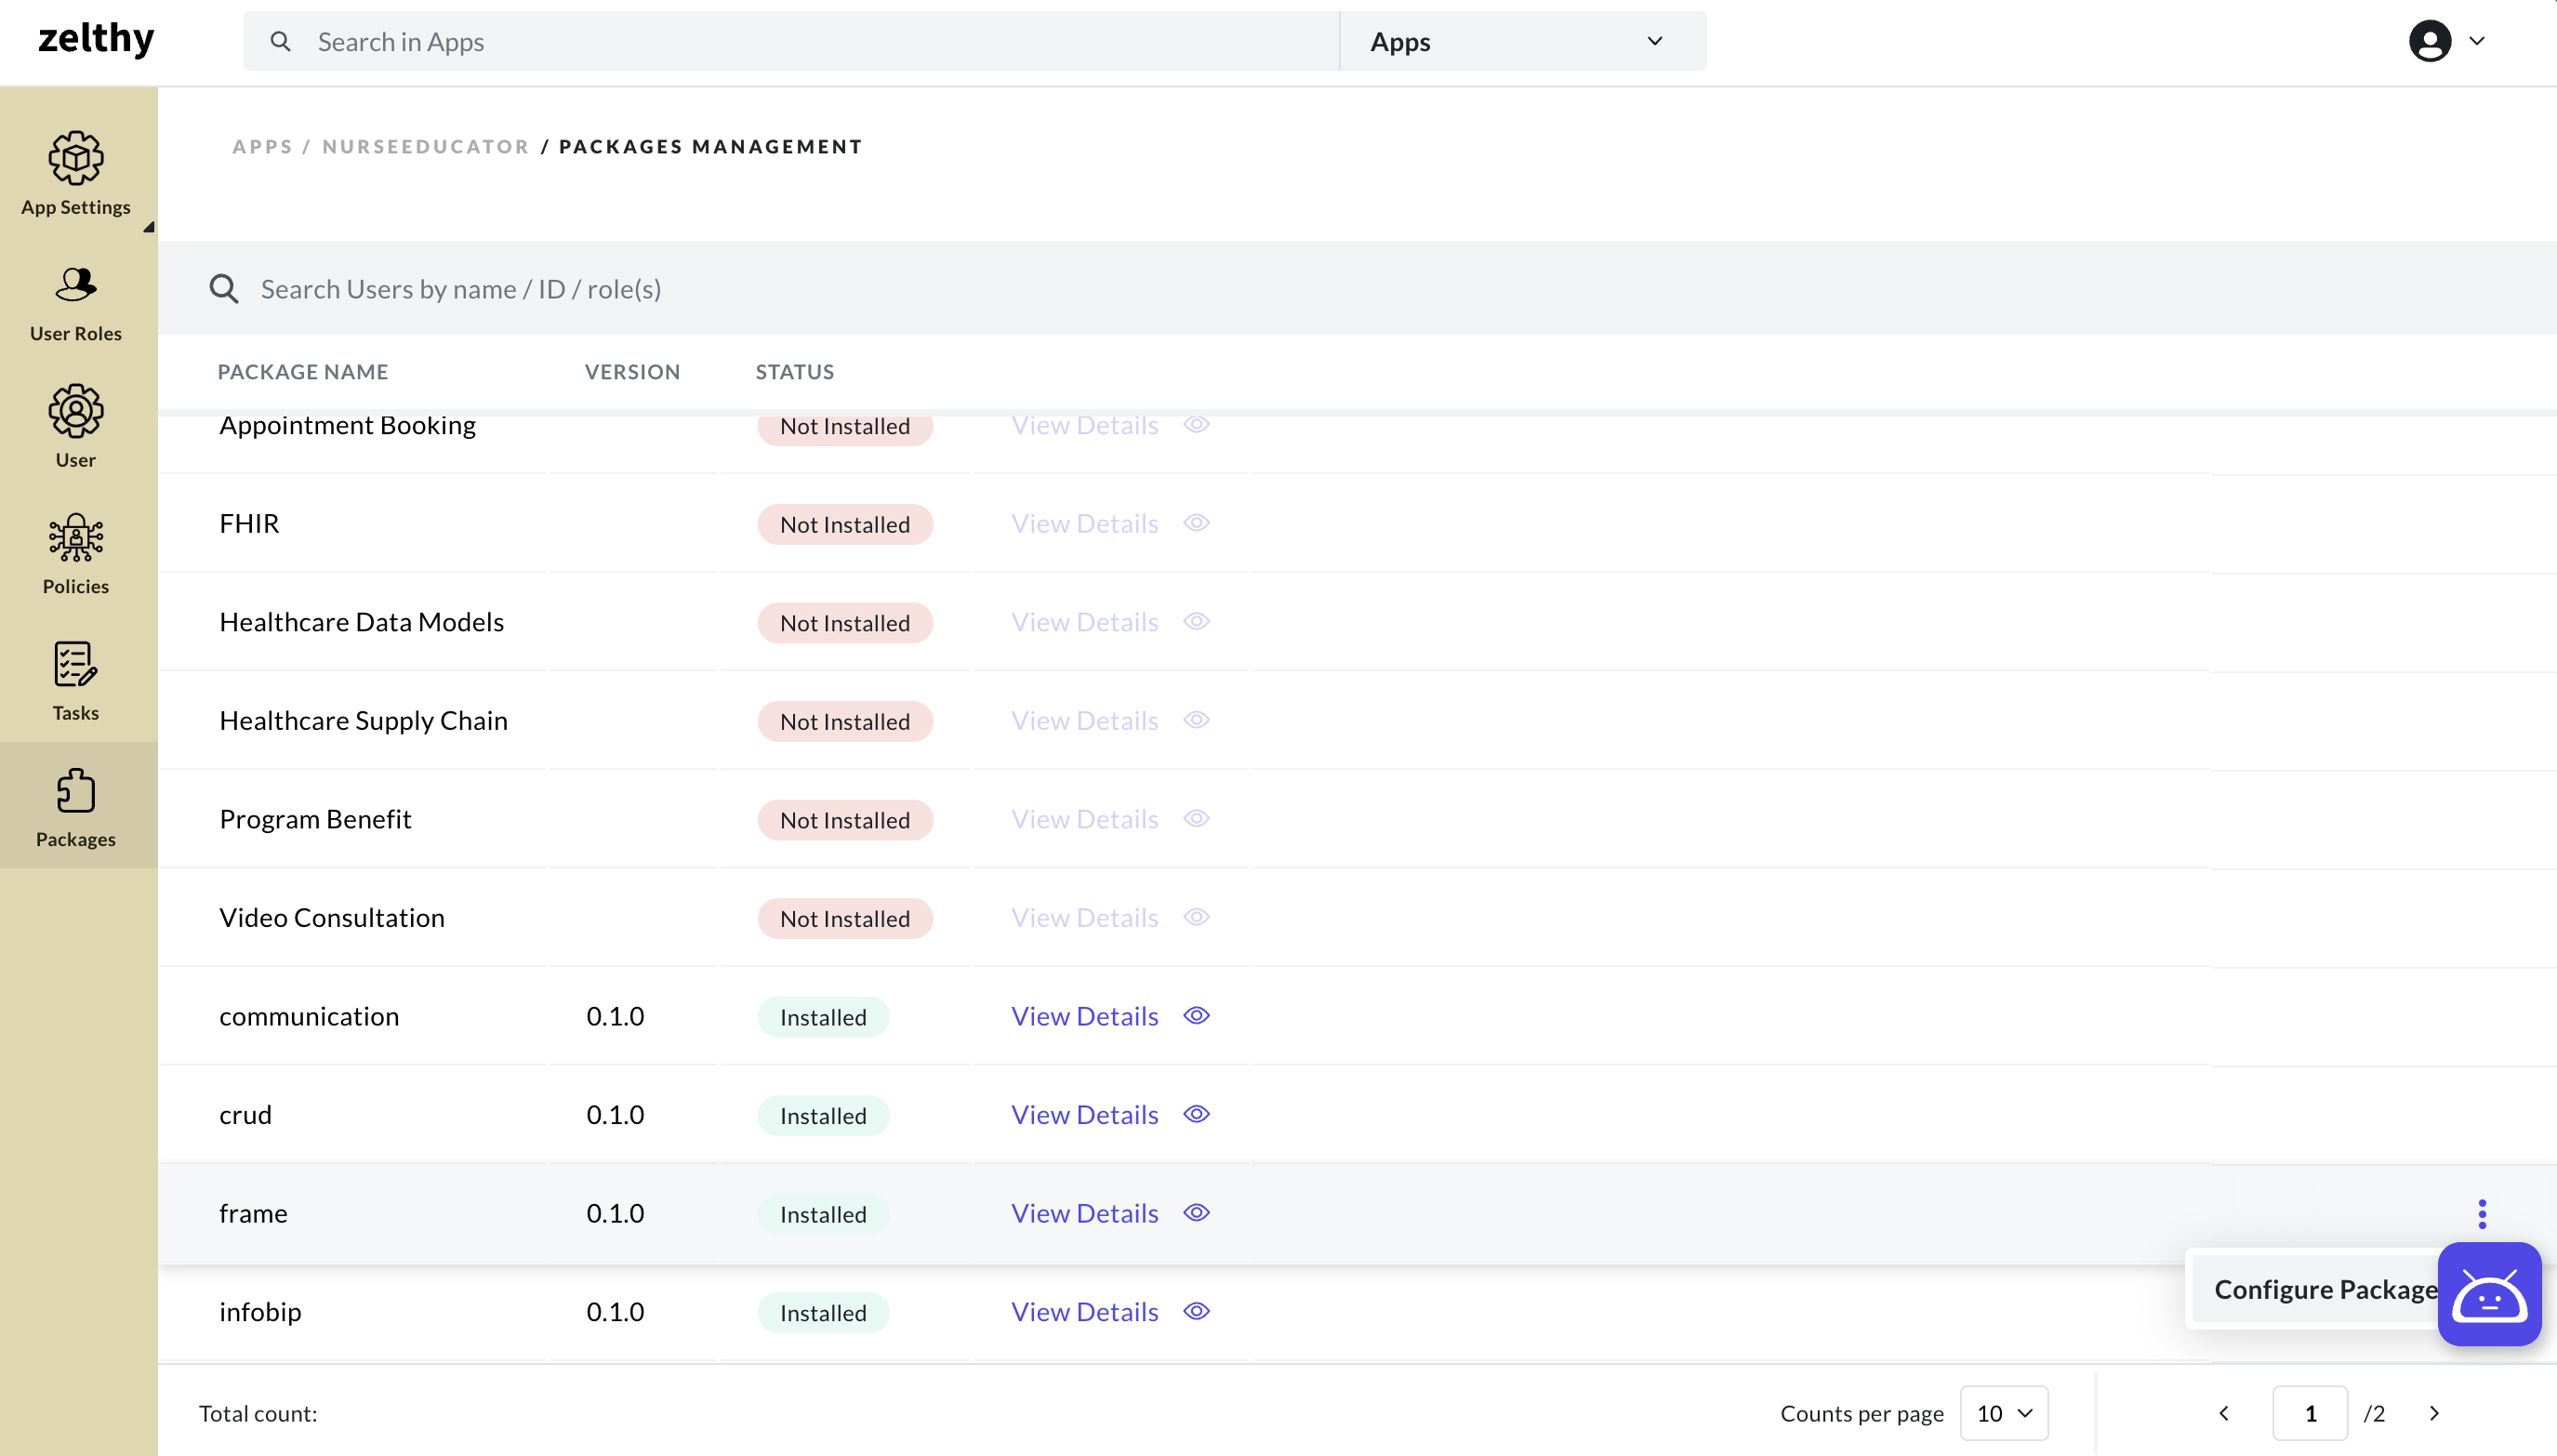
Navigate to the Packages Menu: In the App Panel, locate and click on the "Packages" menu.
Locate the Frame Package: Find the Frame package from the list of installed packages. It should now be in the "Installed" status.
Access Package Configuration: Click on the three-dot menu icon located on the right side of the "Frame" package row. From the context menu that appears, select the "Configure Package" option.
Open Menu Configuration Form: Inside the package configuration, click on the "New Frame Config" button. This will open up the form for configuring the menu for a specific user role.
Select User Role: Choose the user role for which you want to configure the menu.
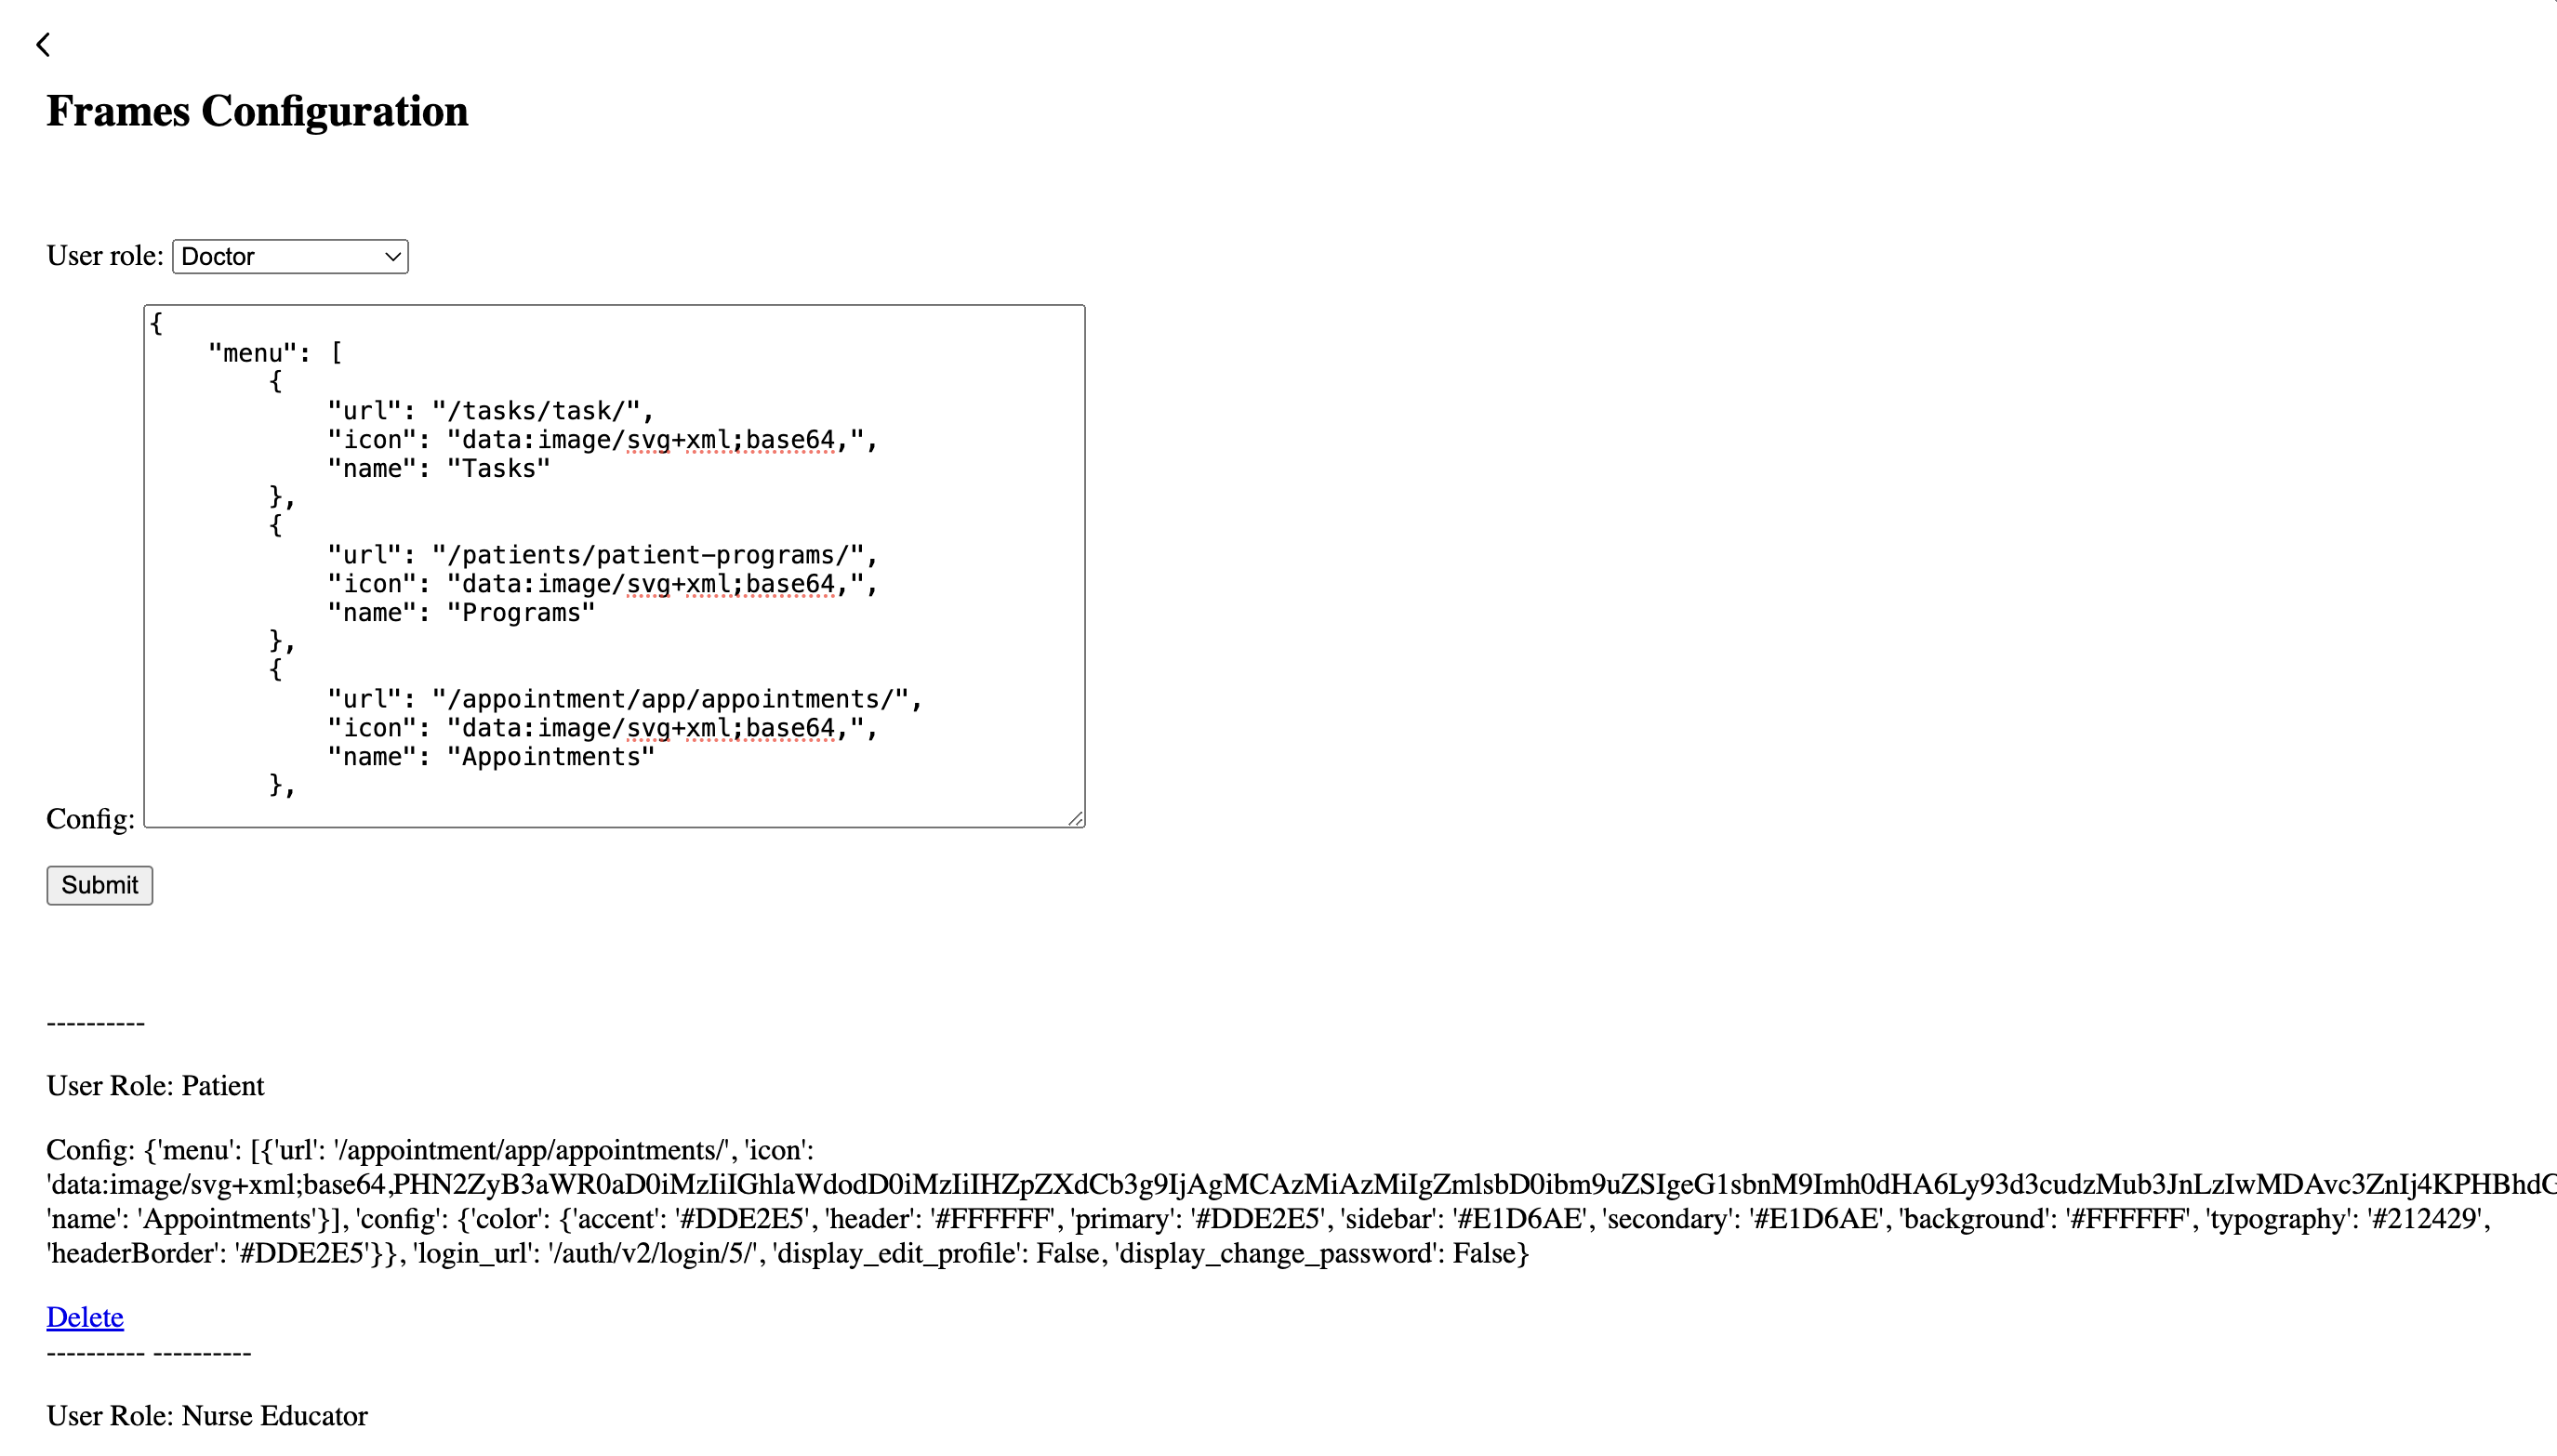
Configure Menu Items:
- Click on the "Add More" button in the menu section to add a new menu item.
- Fill in the details for the menu item, including the display name, URL to route to, and icon.
- Optionally, you can add sub-menu items by clicking on the "Add More" button again and providing details for each sub-menu item.
Add More Menu Items (Optional): If you need to add more menu items, click on the "Add More" button again and repeat the process for each additional menu item.
Save Configuration: Once you have configured all the menu items for the user role, click on the "Submit" button to save the menu configuration.
Before logging in, we'll need to update the login package to configure the landing URL as the frame router url (details in next section)
By following these steps, you have successfully configured the menu for the specified user role. When users belonging to this role log in to the application, they will see the configured menu items displayed according to their permissions.