Creating a Zango Project
Creating a project with Zango is a straightforward process. After you have completed the prerequisites, follow the steps below to create your project's root folder, initialize the project, and configure the necessary settings.
1. Choose a Directory
Navigate to the directory where you want to create your project's root folder. You can use your preferred file explorer or the command line to create and navigate to this directory.
2. Install Zango and Start a New Project
After installing Zango, use the zango start-project command provided by the
Zango CLI to initiate a new project. Replace "MyFirstProject"
with your preferred project name.
zango start-project "MyFirstProject"
3. Provide Database Credentials
During project setup, you'll be prompted to provide your PostgreSQL database credentials:
Database Name
Database Username
Database Password
Database Host
Database Port (default is usually 5432)
If the provided credentials are incorrect or if there are issues with the database connection, the setup process will throw errors and cancel project creation. This is because Zango creates schemas and performs migrations during the project's creation.
4. Migrate Schemas and Create Public Tenant
Upon a successful database connection, the setup process automatically migrates schemas and creates a public tenant, preparing your project with the necessary database structure.
5. Configure the Default Platform User
You'll be asked to provide details for the default platform user — the first administrator who will have access to the App Panel:
Platform User Email Address
Password
Password Confirmation
Once entered, the setup process creates the default platform user for your project.
6. Project Folder Structure
With all configurations in place, the setup process creates your project's folder structure:
project_name/                  # Project root directory
├── manage.py                  # Django command-line utility for administrative tasks
└── project_name/              # Django project package
    ├── __init__.py
    ├── asgi.py                # ASGI config for the project
    ├── settings.py            # Project settings (database, static files, etc.)
    ├── urls_public.py         # Public URL patterns
    ├── urls_tenant.py         # Tenant-specific URL patterns
    ├── urls.py                # Project-level URL patterns
    └── wsgi.py                # WSGI config for the project
Starting Celery worker and Celery beat
If you installed Zango via Docker, the Celery worker and Celery beat are already running as part of the Docker Compose stack. Skip this section.
For a Python virtual environment setup, open a new terminal tab, activate the virtual environment, navigate to the project directory, and run:
Start the Celery worker:
celery -A <project_name> worker -l INFO
Start Celery beat:
celery -A <project_name> beat -l INFO --scheduler django_celery_beat.schedulers:DatabaseScheduler
Running the development server
1. Navigate to your project folder
cd path/to/your/project
2. Start the development server
python manage.py runserver
Before running the server, make sure your Redis instance and Celery worker are up and running.
The server will be available at http://localhost:8000/.
Access the App Panel
In Zango, an App is like an individual Django project — isolated at both the code and database level — but hosted under one main Zango project. Multiple apps can be created and deployed under the same Zango project, saving up to 70% of infrastructure cost and management effort.
Each app has an App Panel (dashboard) used to configure app-level settings like users, user roles, permissions, packages, and logs.
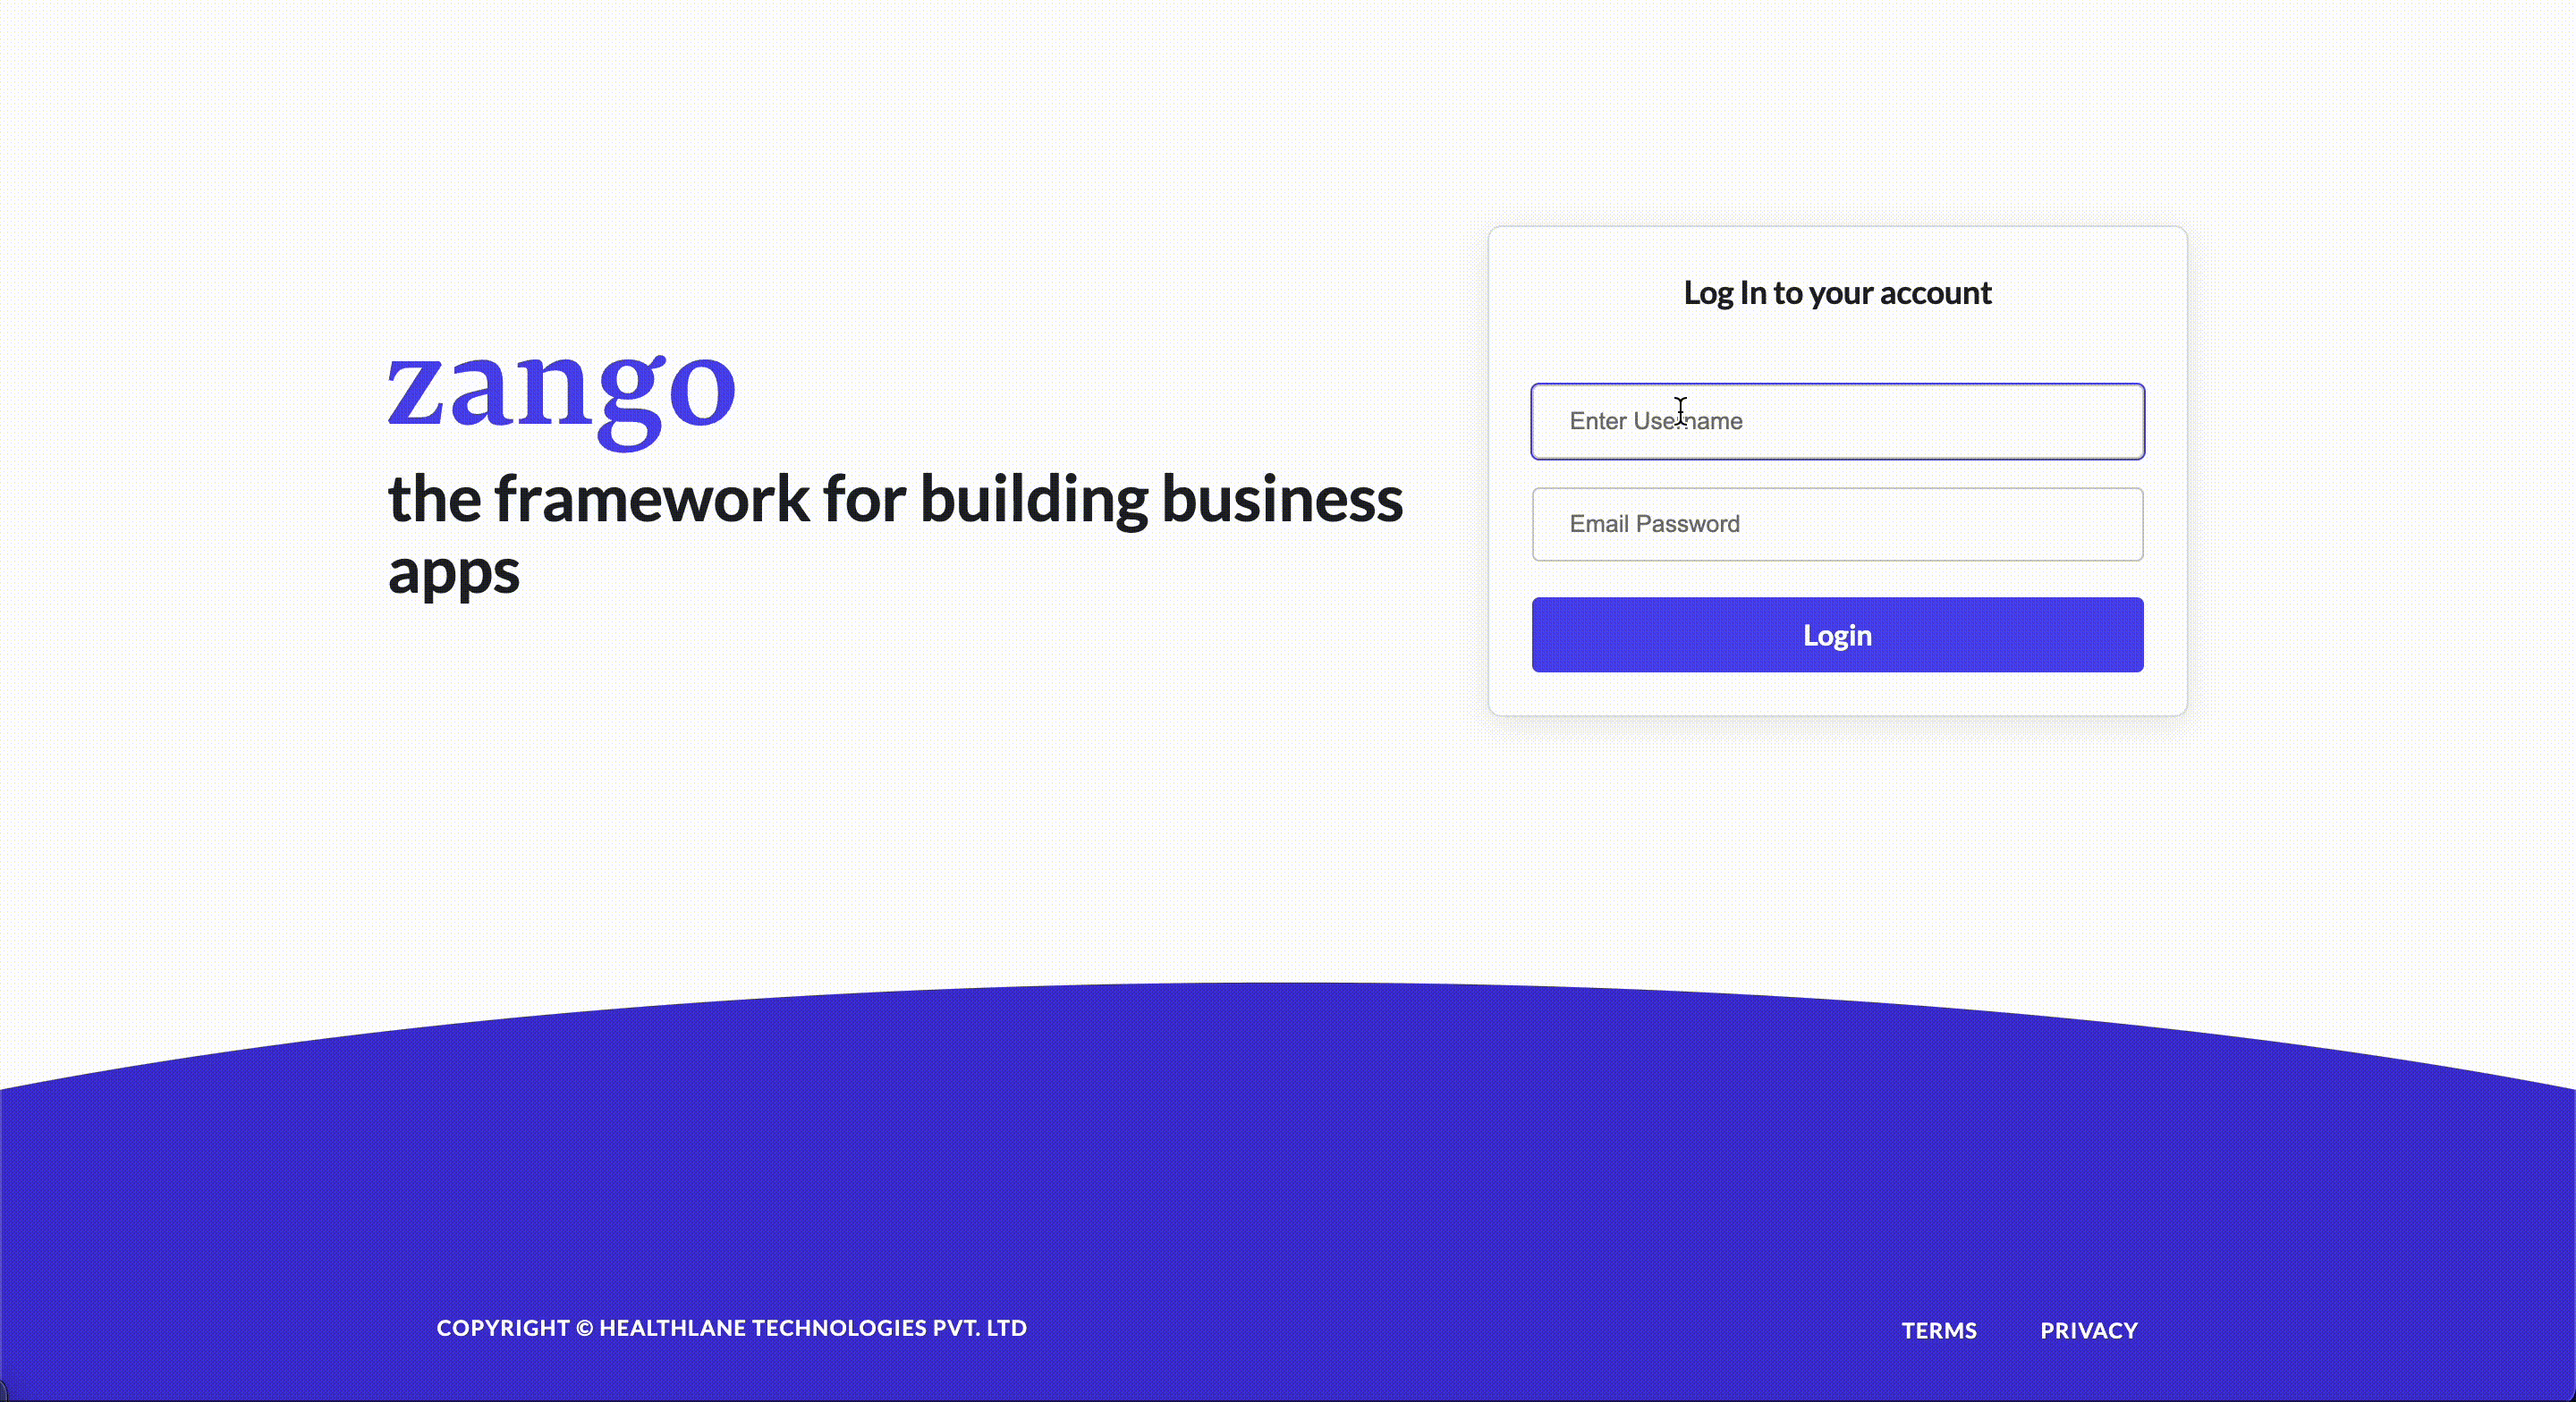
Go to http://localhost:8000/platform and enter the platform username and password you set
during project creation.
Enabling OpenID Connect (OIDC) Authentication for the App Panel
OpenID Connect (OIDC) allows users to authenticate using existing accounts from identity providers like Google or Microsoft.
Getting started — add the following environment variable to your project's .env file:
PLATFORM_AUTH_OIDC_ENABLE=True
Supported Identity Providers
Google — create OAuth credentials in the Google Cloud Console, then add:
GOOGLE_OIDC_ENABLE=True
GOOGLE_OIDC_CLIENT_ID=<your_client_id>
GOOGLE_OIDC_CLIENT_SECRET=<your_client_secret>
Microsoft — register an application in the Azure Portal, then add:
AZURE_OIDC_ENABLE=True
AZURE_OIDC_CLIENT_ID=<your_client_id>
AZURE_OIDC_CLIENT_SECRET=<your_client_secret>
Callback URLs — for both providers, configure the redirect URL in their developer consoles to:
https://<platform_url>/auth/openid/router/
You're all set to start developing your applications on Zango. Now let's move to the next step and launch your first Zango app.